
DIY Clock
Instead of roaming the shops for weeks to get a suitable clock to your taste, you can easily DIY one! Want to know How to make a clock? Just follow these simple instructions to learn how to make a clock at home. You’ll only need some tools, but don’t worry, you can find them either at the local store or right at your house. DIY your own wall clock and look like a professional! Who said a DIY can’t be fun?
How to Make a Clock
Through this article, you will find helpful instructions for how to make a clock from scratch? wall clock kits, DIY wooden wall clock, and pallet clock.


Wall Clock Kits
If ever came to your mind to make a functioning clock on your own rather than the pricey clocks you find everywhere in stores. You needn’t worry about a thing, it’s totally easy. Here’s the step by step instructions.
The clock kits are easily found at the nearest clock store or you can land your purchases on Klockit.
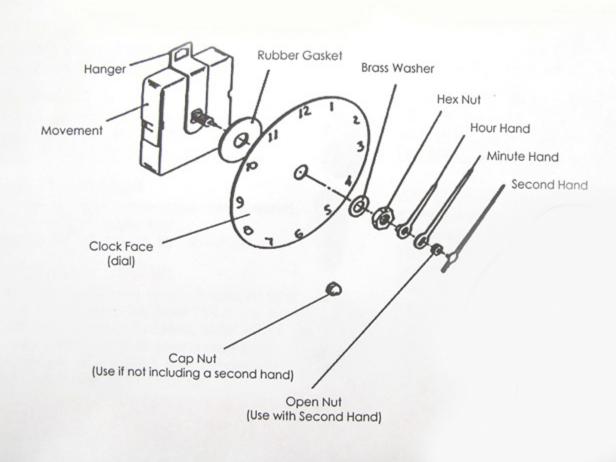
First, choose your clock frame. Whether a rectangular plywood, vintage tile or a dinner plate (suitable addition for any kitchen).
- Use a 5/16 drill bit to create a hole in the middle of your plywood.
- Be aware of the thickness of your clock surface, if it’s thin you’ll need to fabricate a spacer between the mechanism and the front. This way, only a few of the threads on the -I- shaft appear through the hole.
- Arrange the clock hands as you see in the picture, it’ll only take you one minute.
- Make sure not to over tight the cap nut, that’ll force the minute hand to move every second. If it happens that you’ve tightened it, you need to loosen it a quarter turn and, Ta Da! Your new homemade clock is good to go!
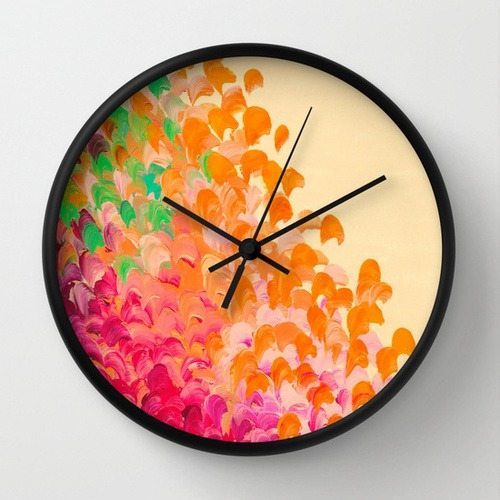
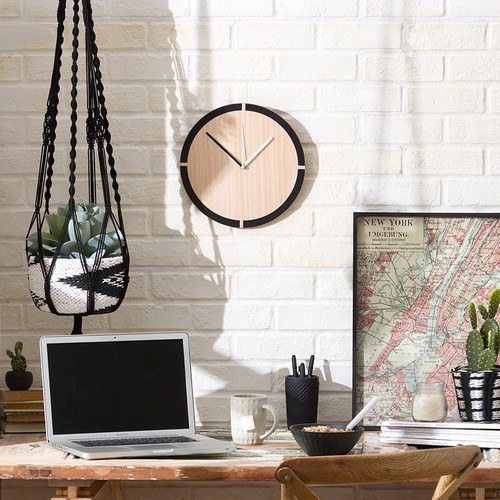
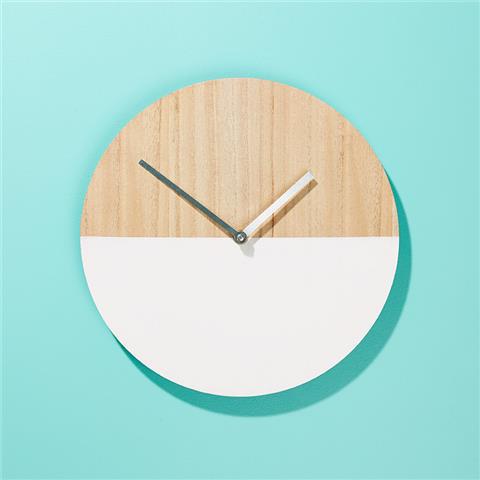
Modern Wall Clock
Now that you know how to make a clock yourself, here’s some modern wall clocks ideas for your own pleasure.

Wooden Wall Clock
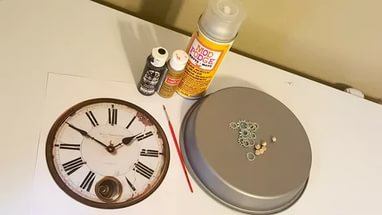
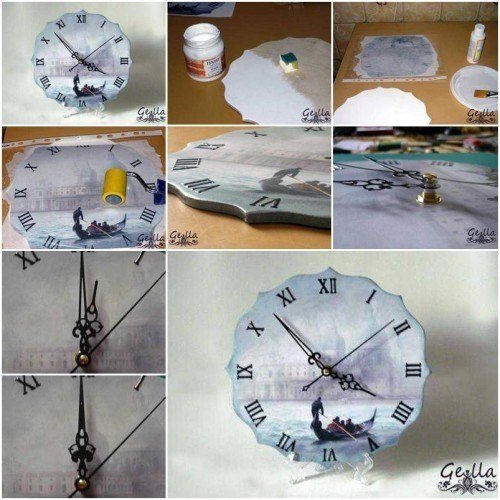
You feel like mixing functionality with art? Try to make a wooden wall clock by choosing a suitable face for your taste, get it ready for painting and start going!
All you need is:
- A wooden clock face
- Acrylic paint
- Paintbrush
- Tape measure
- Clock movement
- Clock hands
- Pencil & Scissors (Optional)
- Now make your 12 marks around the edge of your clock.
- Wrap your tape measure around the clock, trace straight lines across forming 12 equal segments.
- Mark the sections you would like to paint
- You can add polka dot patterns, simply dip your brush into the paint and make dots with it. Be careful not to make the paintbrush absorb too much paint.
- Now, let dry for 30 minutes before you peel the tape
- Erase any pencil lines you’ve made
- Now assemble your clock movement and hands following the instructions above.
There you go!
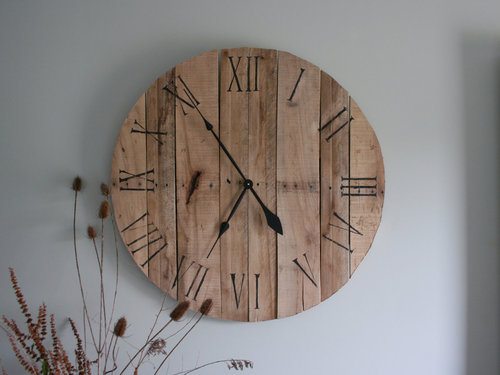
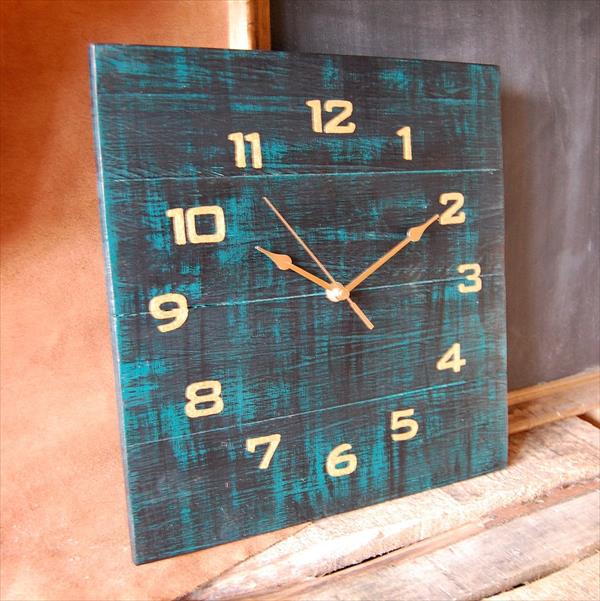
Pallet Clock
See also more of our magnificent DIY ideas here!
Let us know your opinion and how did the process go in the comments below. We love hearing from you!